Saturday, January 26, 2019

Mobilinkd interface with TM-942A / Shack

A while back I bought the excellent Mobilinkd TNC - a device that interfaces amateur radio with smartphones and PCs via Bluetooth.  There are a ton of useful applications for this, not the least of which is being able to place my radio where I want it, and not be cable-tethered to it.  I've used the Mobilinkd TNC with a Kenwood TH-F6A as a mobile device, and that worked very well - I can leave my radio and the TNC in my backpack and type messages on my smartphone.  If I'm doing something mobile/portable like parade/race support, I put the radio/TNC and a battery pack up where it can get good reception and use my smartphone or PC as the interface - as long as I'm in Bluetooth range, I'm good. 

I've long been a fan of the old Kenwood TM-742A and TM-942A tri-band mobile radios.  I own several of them, and have become fairly well-versed in the art and science of repairing them.  I've always been curious about a somewhat unique feature of the radio, which is the Receive Data (RD) line on the microphone 8P8C connector - it's a direct feed of the receiver audio intended for packet radio that bypasses the final audio shaping/amplification stage, with a 100 mV pk-pk signal across a 10k load. 

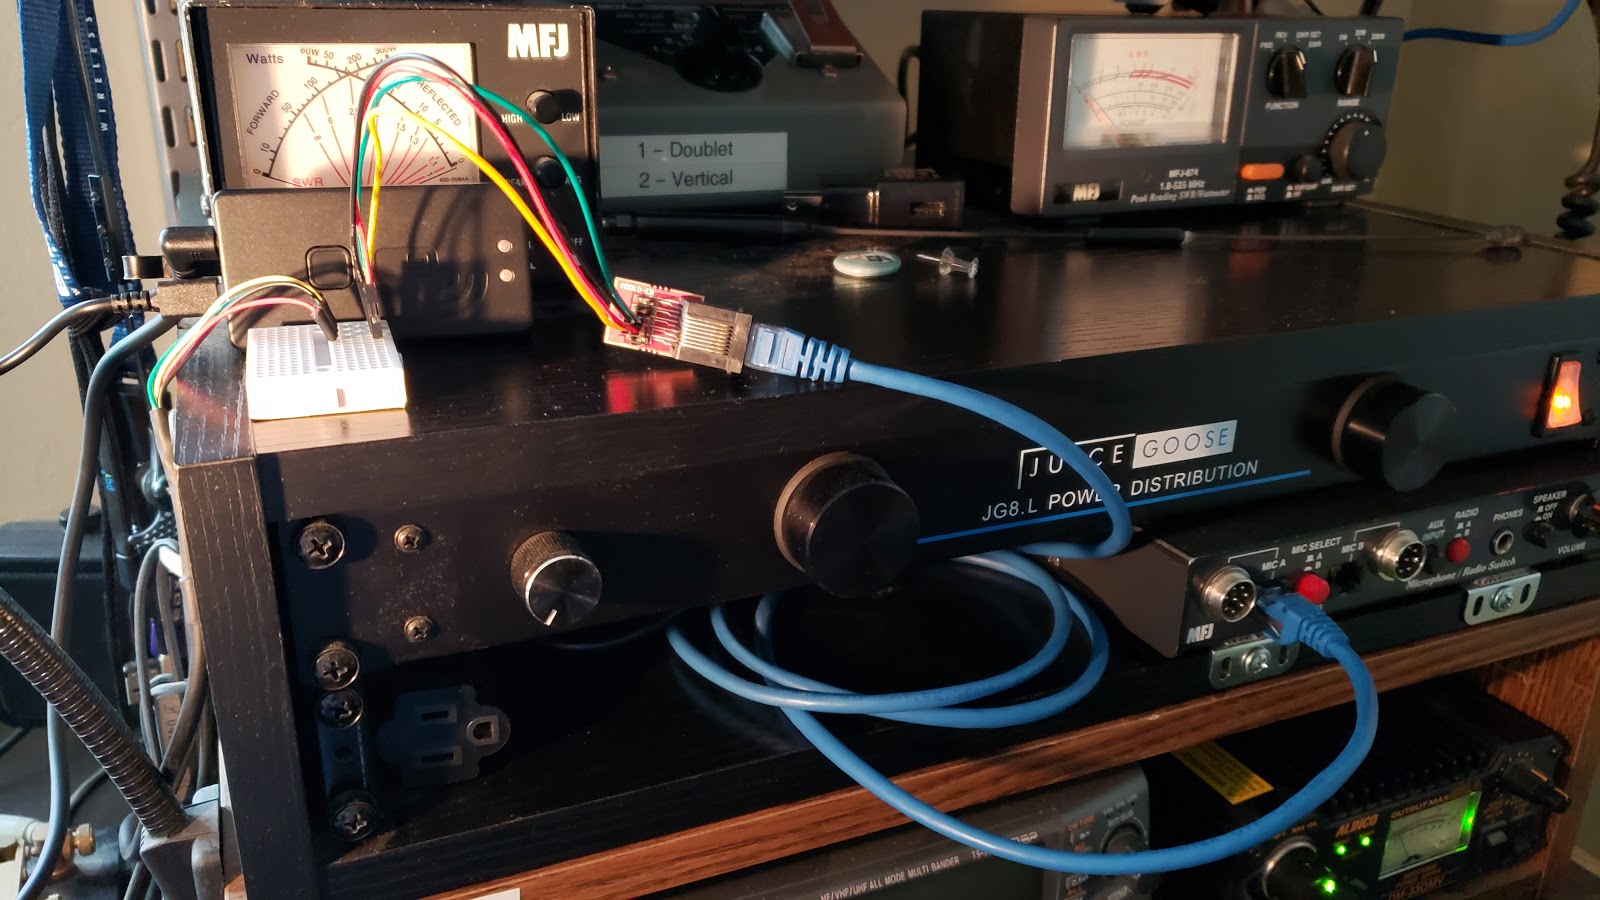
I run a TM-942A (which is just a TM-742A with the 1.2 GHz band module in third slot) in my shack, which is interfaced to an MFJ-1263 microphone switch.  I thought it would be interesting to wire the Mobilinkd into the MFJ-1263 switch, so I could use the TM-942A for audio or APRS/packet at the flick of a switch.  The RD line makes this really simple to wire up.  Critical for APRS/packet applications, the RD line is tapped off before the squelch and CTCSS circuits - so I can monitor the audio for debug, or mute it as needed, without having to worry if the squelch and CTCSS settings are screwing with the RD line.  (Of course, this requires me to run DCD on the TNC software, otherwise it will never transmit while it sees the channel as "busy".)  Volume control also has no effect. 

I started off by ensuring that the MFJ-1263 was jumpered properly to bring the TM-942A connector out to the switch's front panel 8P8C jack without re-ordering the pins.  I put this onto the switch's A-side, and left my voice microphone on the B-side.  I had previously built a 3.5mm (1/8th inch) TRRS cable with breadboard pins soldered to the ends for my test kit.  I also have an 8P8C breakout board in my test kit.  Both pieces were jumpered together on a small breadboard.  Once I had the wiring confirmed, I made the cable permanent.  It might sound like overkill to proceed this way, but the TM-942A's microphone jack also has an 8 VDC (@ 100 mA) voltage source, and I wanted to make sure I wasn't injecting a voltage into my TNC. 

I'm really happy with this set up - I can use the Mobilinkd TNC at home, or take it mobile by simply unplugging the TRRS connector and USB power cable.  My Mobilinkd stays charged via USB when it's in the home configuration.  My only gripe is that the Receive Data line from the TM-742A is a fixed level which is slightly lower than the Mobilinkd's software wants to see, but it doesn't appear to be affecting decode on APRS. 

Saturday, August 19, 2017

Easy Project: Cellphone/Tablet Charging Stand

With the new school year came cellphones for the girls. We wanted to make sure that they didn't store them in their bedrooms - we have enough trouble with getting them to sleep and don't want to add to the problem, and we want to make sure they're charged for the coming school day.  So Tara and I built a cellphone/tablet charging stand.

Parts were simple and inexpensive.  We already had a small free-standing shelf obtained from a garage sale, similar to the Furinno 5-tier corner shelf (Amazon, $27).  Similar items can be found at Home Depot and Wayfair for under $40.

I ordered an Anker PowerPort 60 watt 6-port USB charger (Amazon, $28) and two sets of 4 ft cables - one for Android (Micro USB - Amazon, $11) and one for iOS (Lightning connector - Amazon, $22).  Don't get me started on why iOS cables are 2x the cost.  (Hint: Apple is evil.)

To show how easy this project is, I tasked my 10 year-old with the build.  She felt it necessary to wear a sequined cocktail dress for the photos.  I stopped questioning these things a while ago.

With all parts removed from their boxes she prepped the adhesive which would attach the Anker PowerPort to the shelf.  I'm partial to 3M Dual Lock because it's very sticky yet removes with no residue, and it allows the pieces to be separated if needed.  Unfortunately, it's also crazy expensive unless you buy it in bulk, in which case it's only kinda expensive (Amazon, $3/ft).  I found that the 3M Command Adhesive strips didn't work, as the Anker PowerPort has a fingerprint-resistant coating to which the Command Adhesive won't adhere.  Double-sided sticky tape might work, not sure.  A bit of surface prep on the surfaces with an alcohol wipe helped.

Assembly is simple.  Attach the Anker PowerPort to the back side of the shelf.  Insert USB cables.  Plug into wall socket.  Charge devices.

Thoughts on the build:

  • I bought 4 ft cables.  I probably could have got away with 1 ft cables.  Coiled cables might be better.  
  • I'm going to add some kind of cable organizer to keep cables tidy when not used.

Sunday, April 2, 2017

Review: August Doorbell Camera

El Doorbell Del Diablo
Update: After replacing the August Doorbell with a Skybell HD, and having just as many problems with the Skybell, we switched to Nest Doorbell Cam and have had no problems.  The only thing worse than security that doesn't work, is security that sometimes works - because you can't trust it.  Spend the extra money and buy quality security equipment.  Trust me on this...

Last year a friend bought two "smart" doorbells for his home, and decided to keep the one he installed first.  So for a discount, I was able to pick up an August Doorbell Camera.  What followed was a journey lasting several months, ultimately resulting in me buying a different product.

I loved the idea of smart doorbell.  Living in a city which due to budget issues and a pension crisis has only 2/3rds of the police officers it needs, and with my wife such a fan of online stores for everything, we're careful about quickly pulling in mail and packages.  Research has shown that burglars will almost always ring the doorbell before attempting a robbery, so if you can appear to be home - they'll move on.  That, and our very large dog, seemed like a good strategy.

I installed the August Doorbell Camera in August 2016, and immediately began noticing issues with it.  Switches on the smartphone app were not properly synchronized between Android and iOS - in fact in some cases turning a switch ON in Android resulted in the switch being OFF in iOS and vice-versa.  I found that when changing a setting in the app the change wouldn't always register.  The device wanted a -60 dBm Wi-Fi signal - which an RF-savvy person will tell you is really hard to get unless you're practically right on top of the access point.

More than anything else my frustration was with the inconsistency of operation.  August Tech Support (which from what I can tell either isn't located in the US or they keep really odd office hours) would often remotely reboot the device and it would work for a day or so, then begin failing.  What's worse than something that doesn't work?  Something that works intermittently.  I'd get a motion or doorbell ringing alert - and the video file would show "unavailable".  Or I wouldn't get the alert.  Or I'd get the alert but be unable to remotely answer the door.  I never knew what to expect.

I gave up on the August Doorbell Cam on March 31st 2017, over seven months after installation.  During that time I exchanged countless emails with them - easily over 100 total.  To their credit, they tried to help - I received two replacement doorbells, including one after the doorbell just completely gave up and refused to reset or connect to anything.  I never felt I could rely on the device, and in the end I wanted that reliability.